
Last January, I flew to Tromsø in Norway about 350km north of the 66° Arctic circle line. Despite almost no daylight and temperatures as low as minus 20°c, that week was one of the most incredible trips of my life, because I witnessed the most amazing show of Mother Nature: The Northern Lights.
While they are easy to witness in the middle of winter in such latitude, it can be really tricky to capture them with a camera…
I have been taking photos for almost 10 years and the Northern lights are one of the trickiest things to capture if it’s something you have never done before. There are in fact a few parameters that you absolutely need to control to make the best images. Although, the last thing you want is to worry about the camera settings when such a trip may already be a once in a lifetime opportunity.
For this reason, I will explain in this blog post all these parameters and how to control them. I’ll share the keys of a good picture of Auroras and all the steps to photograph Northern lights, worry-free, and without spending all your time changing the settings.
What is a Northern or Southern light?
Called Borealis in the northern hemisphere and Australis in the southern hemisphere, the Aurora occurs on Earth when the solar activity is important and charged particles are ejected after a magnetic storm for example. This high energy spreads into our solar system to finally meet the Earth atmosphere. As they do so, they are attracted by our planet’s magnetic field and are dragged to both poles – this is the reason why the auroras are solely visible under these extreme latitudes.
Upon entering the atmosphere, the particles mingle and react with the Earth’s atoms – ie. oxygen, nitrogen, etc. – creating a vivid show of nature: a display of multi-colour floating lines in the sky!
Note | I will mostly use the term of “Northern Lights” and “Aurora Borealis” as they are most common, however, all the below applies to the Southern lights/ Aurora Australis.

Settings: 45mm – ISO 125 – f7.1 – 30s exposure – Canon 6D
Where and when can you see best the Auroras?
Since the solar particles are attracted by the magnetic poles, it is necessary to travel to extreme latitudes to see best the Auroras. While it is almost certain to witness Northern lights from the north of Canada, Russia, Iceland and the Nordic countries, it is sometimes possible to see them near the horizon from Ireland, the Baltic countries and even Poland or Germany. These are rare occurrences but if the solar activity is really high (about 7-8 KP – see below) and that you are far from any light pollution (cities, full moon, etc.) you may spot them. Although, northern countries are still the best places to see the Northern Lights.
It is also easier to see Northern lights than Southern lights as the northern latitudes are a lot more populated and much easier to travel to. The southern lights would require a trip to Antarctica in the middle of winter or a lot of luck while travelling in the southern part of New Zealand, Tasmania, Chile or the Subantarctic islands (south Georgia, Kerguelen…).

Settings: 45mm – ISO 250 – f4.5 – 1/5s exposure – Canon 6D
In terms of the best season to see the Northern lights, winter is always a good choice. In fact, even if this phenomenon happens pretty much all year long, the activity tends to be stronger during the coldest months. It is best to travel to these northern destinations from the end of November to mid-January, as the sun is also at its lowest and rarely passes the horizon, giving you almost 18 hours of nighttime every day!
Mi-December until mid-January, the days in the North of Norway and Sweden, are quasi-inexistent. You would need to wait until the end of January to have a bit of daylight from 11 am to 3 pm – and yet it’s more a sort of 2 hours of dawn, 2 hours of dusk and 20 hours of night! In my opinion, this is just the best season to travel because the light over the cities and surrounding snowy landscapes are incredible and the rest of the time, you can spend it watching and photographing Northern lights!
To check the daylight hours, you can use this website or this one and choose the destination. I also use the Photographer’s Ephemeris website to check where to expect the sun to set or rise. It is an excellent tool for photographers.
As an example, here is a Sun graph monthly view for Tromso in Norway – You can see that the best month to see the northern lights are those with longer nights and twilights such as December and January. Although, as you can see February, March, October and November are good candidates as the daylight remain low. Now, if you plan a trip in the middle of summer, during June or July, don’t expect to see any Norther lights since the sun never sets!! Expect to watch the midnight sun instead 🙂


Checking the aurora activity and forecast
The Aurora activity will define if you can see the Northern Lights with the naked eye and where from. To find the best spots and check how strong the aurora should be, I use the website Aurora Service – it gives real-time information on the level of activity as well as a 3-day forecast. The data is based on solar wind activity and geomagnetism provided by Nasa and a network of magnetometers.

If you are travelling to polar regions, it is best to aim for a night that will have a Kp-index greater than 2 on a scale of 10. If you are heading towards lower latitudes, the solar activity must be stronger to get to see the auroras (see image). Obviously, the more intense the solar winds are, the faster the aurora will move and the more impressive the show will be!
Check the Aurora Kp-index (on the right side of the webpage) for the current intensity, and the forecast (lower down the page) to identify if the activity will get stronger in the coming days or hours.
In Tromso, Norway, 2 KP is good but 3 or 4 is great! A solar storm starts from 5 KP – which usually means an incredible display of colour to expect. Below 2 KP, the intensity might be too weak to see anything interesting, even if your camera will still be able to catch some lights… don’t we all want to see those swirls and colourful displays? So, if you can, aim to go out on those days with a minimum 2Kp from Lapland and 3 Kp in Iceland.
The Aurora Service website also provides a real-time map of the aurora activity. It gives an excellent idea of where the Auroras are the strongest. If you are travelling to a place right beneath the “Auroral Oval”, chances are, you will be able to see the lights right above your head! If you are located slightly South of the green ring, make sure to find a spot looking towards the North with an open view on the horizon. The lights should appear around 30 to 60° angle above the horizon.
Also, make sure to also check the weather forecast. Obviously, if the sky is overcast, you might not see the Auroras which will be hidden behind the clouds. Finally, as well as finding a clear sky, it is important to remain away from light pollution (from cities) and travel outside the week preceding or following the full moon. I find that website quite fun to look for “dark sky” and this one can be useful to calculate the moon phase from anywhere in the world!
If you are in Iceland, you can also check out the Icelandic Met Office website.
In terms of Smartphone Apps, there are a few you can download for free. Aurora, Aurora Alerts or Aurora Forecast allow you to check the activity where you are but also choose a destination – so you can check the forecast from home or before your plane takes off! It provides weather forecast, cloud coverage as well as current KP-index and a 3-day forecast. You can purchase an extension to get a long-term forecast, but I am not sure that is very necessary. Note: These apps seem to pull the data from the Aurora Service website.

Equipment to photograph Northern Lights
Minimum Requirements
| A Camera with Manual Mode
You will need a camera with a manual mode functionality; It doesn’t have to be expensive but obviously the higher range it is, the best it will handle night photography. Ideally, a full-frame DSLR with high ISO capability will get you the best conditions for high-quality photographs, but as long as your camera let you choose the aperture and time of exposition, you are good to go! It doesn’t have to be expensive and in fairness, the brand doesn’t really matter.
So you have a large choice from Full-frame to APC-C to Mirrorless cameras. Technology evolves on a daily basis and new cameras tend to handle high ISO a lot more (check this section to understand why ISO capability is important).
All my photos were taken with a Canon 6D and a 24-105 mm 1:4 USM Serie L lens – You can also rent a camera or a lens from your local camera shop if you don’t want to invest in brand-new equipment but make sure to have an insurance covering gadgets.
| A Sturdy Tripod
You will also need a sturdy tripod such as this one – The tripod keeps your camera steady during long exposures. Hand holding a camera even for a 1/100-second opening is really hard! The camera will sense the smallest movement and just the fact of breathing will get your hands and body to move, creating unwanted blur on your photos. Invest or rent a good Tripod. The bigger and heavy your camera is, the stronger your tripod must be. You really don’t want it to fall in the snow…
Complementary gears recommended
- A few spare batteries, fully charged;
- A lens with a large opening – f2.8 being best quality-price;
- A lens as wide as possible. You can have a fish-eye for fun but 14 to 28 mm is perfectly fine;
- A couple of “empty” Memory cards or one with high capacity
- A remote controller or a shutter release cable – make sure the release is adapted to your camera
- A phone that can be linked with an app to the camera – if your camera has a Wifi or Bluetooth connection.
- Good warm clothes (see this section)
Keys for a good picture of Auroras

How to photograph Northern lights | Camera settings
| Shutter speed
This corresponds to the time the shutter opens to let the light enter the lens. With a DSRL camera, it can be set manually between 1/4000 s and 30 s. You will need to adjust the shutter speed depending on the type of aurora and the result you want. If the aurora is strong and moving fast, you will choose a fast opening to capture the movement (1-6 s) and catch what your eyes see.
If you let it open longer, you will let a lot more light in and might either get a photo overexposed (white) if the aurora is very bright or you will miss its swirls.
Long exposure is however recommended if the aurora moves slowly or isn’t bright enough. In this instance, it will be more about capturing the colours in the sky (15-30 s) than the movement.

Settings: 32mm – ISO 1000 – f2.8 – 20s exposure – Canon 6D
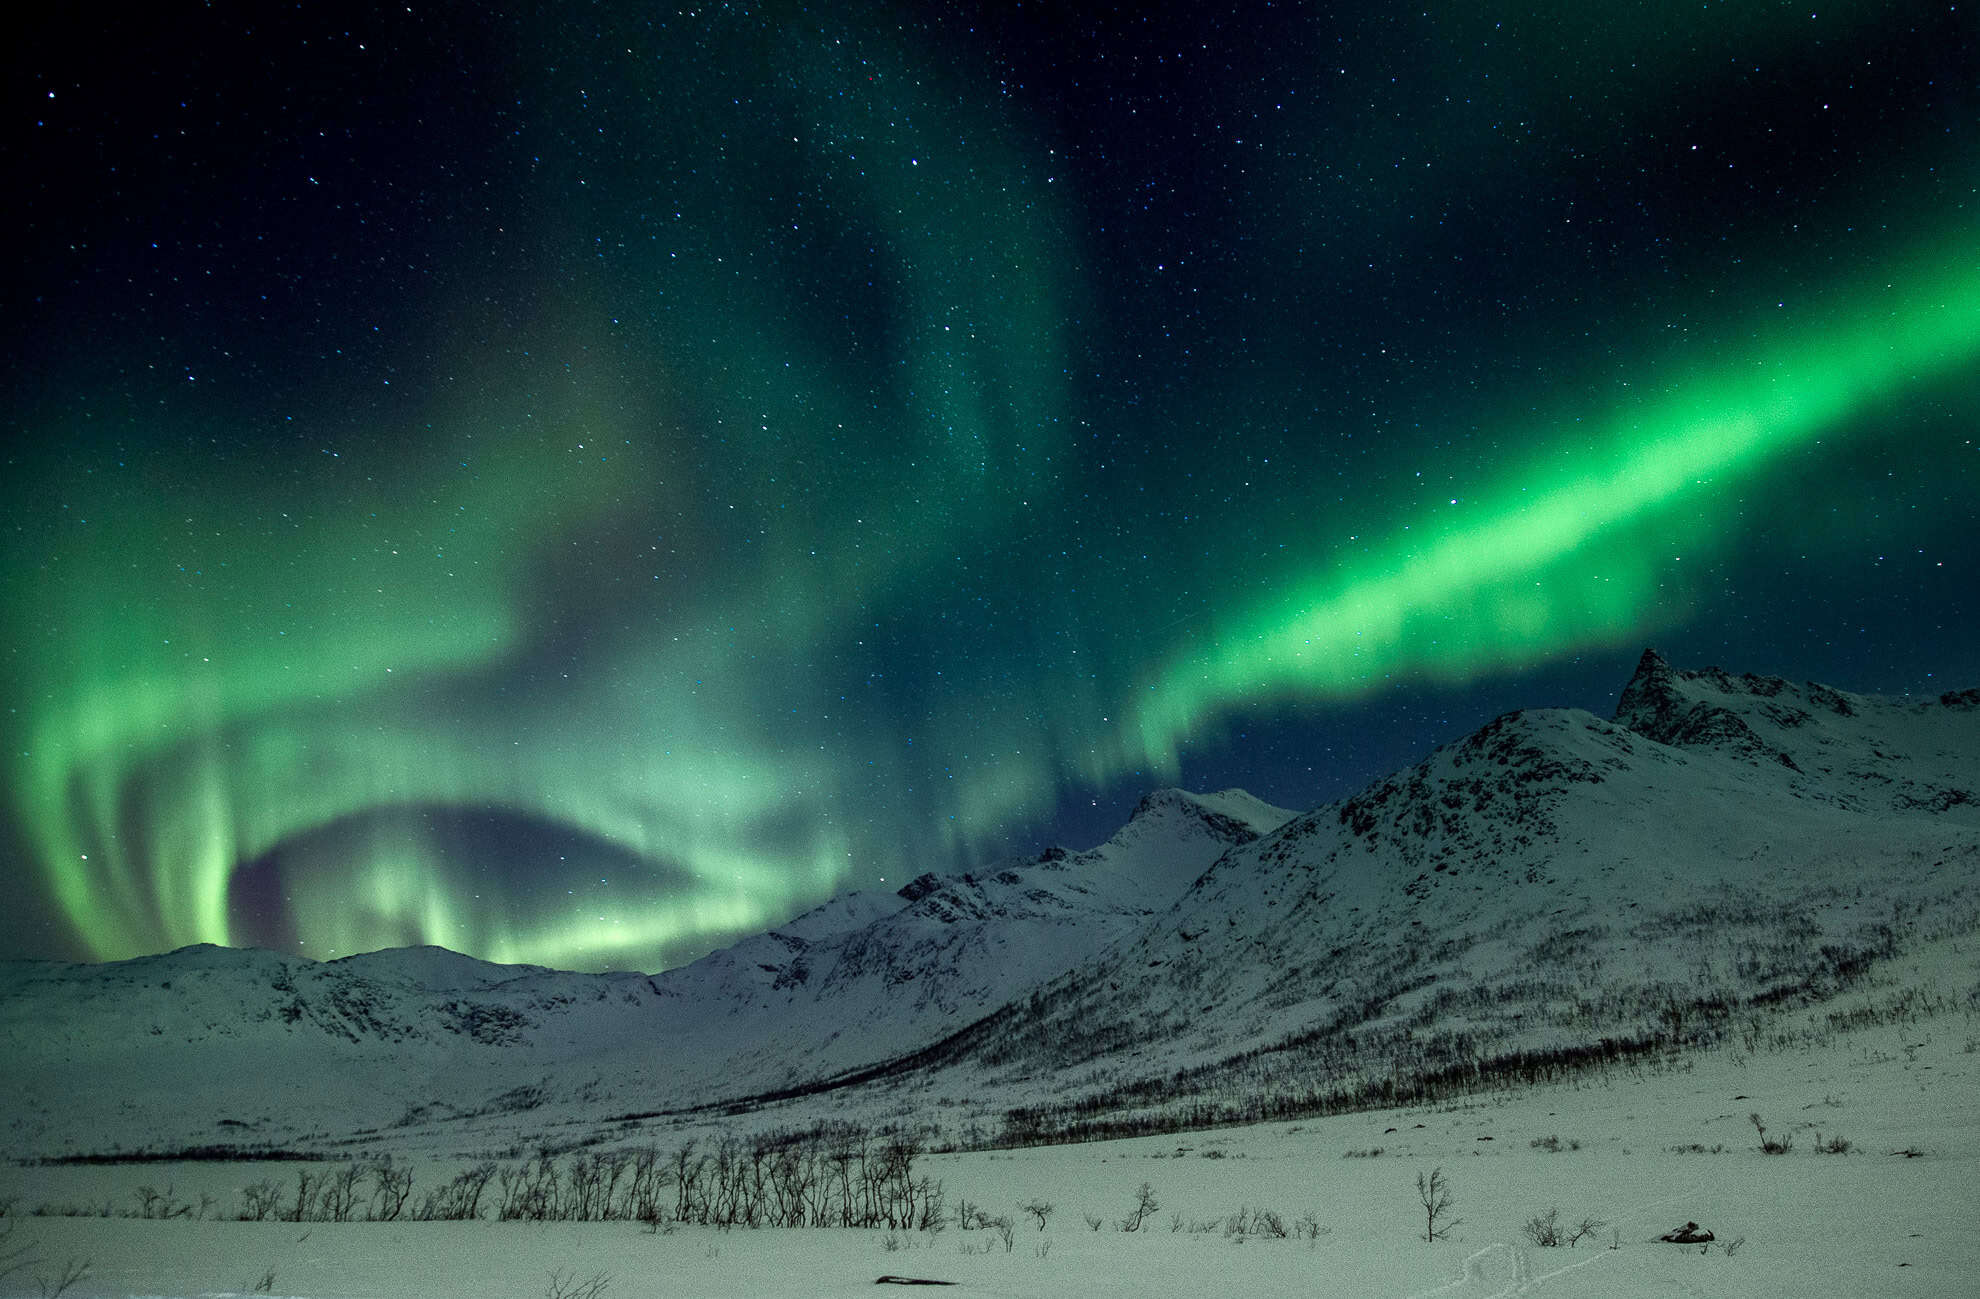
Settings: 28mm – ISO 1200 – f2.8 – 6s exposure – Canon 6D
To change the shutter speed, choose the mode manual “M” or the “TV” function. For the first one, you will be in charge of also choosing your aperture, while with the TV, you are only responsible for the shutter speed – the camera will calculate and change the aperture on its own. The Manual Mode remains the best to use, as you are in total control of all the settings and the results you will get.
Most cameras allow an automatic shutter speed up to 30 seconds. If you need to go beyond that, you have to choose the “B” bulb function and press the button without releasing it for the desired period. This technique is not ideal at night, as the slightest movements of your finger or breath can make your photography blurry. I would recommend getting a remote control or managing your device from your smartphone if your camera has the Wifi or Bluetooth integrated.
| Aperture / “f”
The aperture is the size of the lens opening. It is symbolised by the letter “f” and a number that usually ranges from 1 to 5. The lower the number is, the wider the shutter opens, letting more light come into the lens and allowing you to decrease the shutter speed and get sharper shots. Although, lenses with a large aperture such as f.1 are quite expensive and don’t focus well at night.
Basic lenses sold as bundled with the camera body usually have a minimum aperture of f4/4.5 which is unfortunately too small to capture a really good photo of Northern Lights. Ideally, I would recommend a lens that opens to f2.8. They have a good focus at night, they perform well for northern lights, and more generally are good for landscape and travel photography.
If your lens has a high aperture and you can’t invest in a new lens, you will need to work around the limitation by compensating with a higher ISO or a slower shutter speed.
| Sensor sensitivity / “ISO”
Those who have used film cameras prior to the digital era will know that sensor sensitivity is important depending on the brightness (cloudy, sunny, etc.). The higher the ISO, the more sensitive to the light the captor is. With a high ISO, you do not need to open too wide or keep the shutter open too long. However, by setting a high ISO you will lose in sharpness and details. In fact, high ISO creates “grain” in the picture and mostly in the “black”, compromising the quality of your image.
Nowadays, the ISO can be chosen without having to change the film and can even reach up numbers such as 12000… but that would not be recommended for night photography! Even if a camera lets you choose really high ISO, it is essential to identify the “limit” of the equipment, ie. at which level the grain starts to appear. Do not hesitate to test the settings at home before going on an Aurora Borealis photo trip.
To find the ISO limit for your device, take the time to take photos in pitch black and analyze the “grain” or pixelisation of your image when you get higher in ISO. Personally, I try to not get higher than 1600 with my full-frame camera (Canon 6D).
Start shooting at 800-1000 ISO and move up from here. If you don’t get enough light, you can adapt the shutter speed and aperture.
| Camera focus
It is necessary to set your lens in manual mode because at night lenses have difficulties finding a focus point automatically. To do so, slice the button on the side of your lens from “AF” (automatic) to “M” (manual), then rotate your lens to focus on “Infinity” – ∞ symbol. You may still need to adjust slightly your lens focus to the left or right from the ∞ symbol in order to get a sharper image.
I would recommend doing some tests in bright light and marking the sharpest focus point with a pencil or white tape. Make sure to wear your glasses if you are shortsighted… or what you think is sharp might not be in reality!! There is often a small scroll wheel near the viewfinder to change adapt it to your sight. Make sure to check your photo afterwards to be sure, the photos are sharp.
| Image format
Most cameras nowadays will let you take photos in Raw and Jpeg. If you want to edit your photos with Lightroom or Photoshop, I would recommend shooting in Raw which will allow you to control a lot of parameters in the post-editing and get the best out of your images. However, if you are a beginner, not into post-editing, don’t know how to or quickly want to share your images on social media, then, shooting in Jpeg should be enough.
Raw images take a lot of space on your memory card – about 20 Mb per image – while Jpeg images range from 500 Kb to 2 Md depending on the size chosen: S (Small), M (medium), L (Large)… The larger the size, the better the quality is. Keep this in mind and bring a few Memory cards with you.
| White balance
If you don’t shoot in Raw, you will need to choose the correct Kelvin value to capture the most accurate colours possible. I would recommend choosing the custom mode and a Kelvin value between 2400 and 4000 for night photography and Aurora Borealis.
For those shooting in Raw, the white balance can easily be corrected in post-production, however, it is always best to get it right from the first shooting!
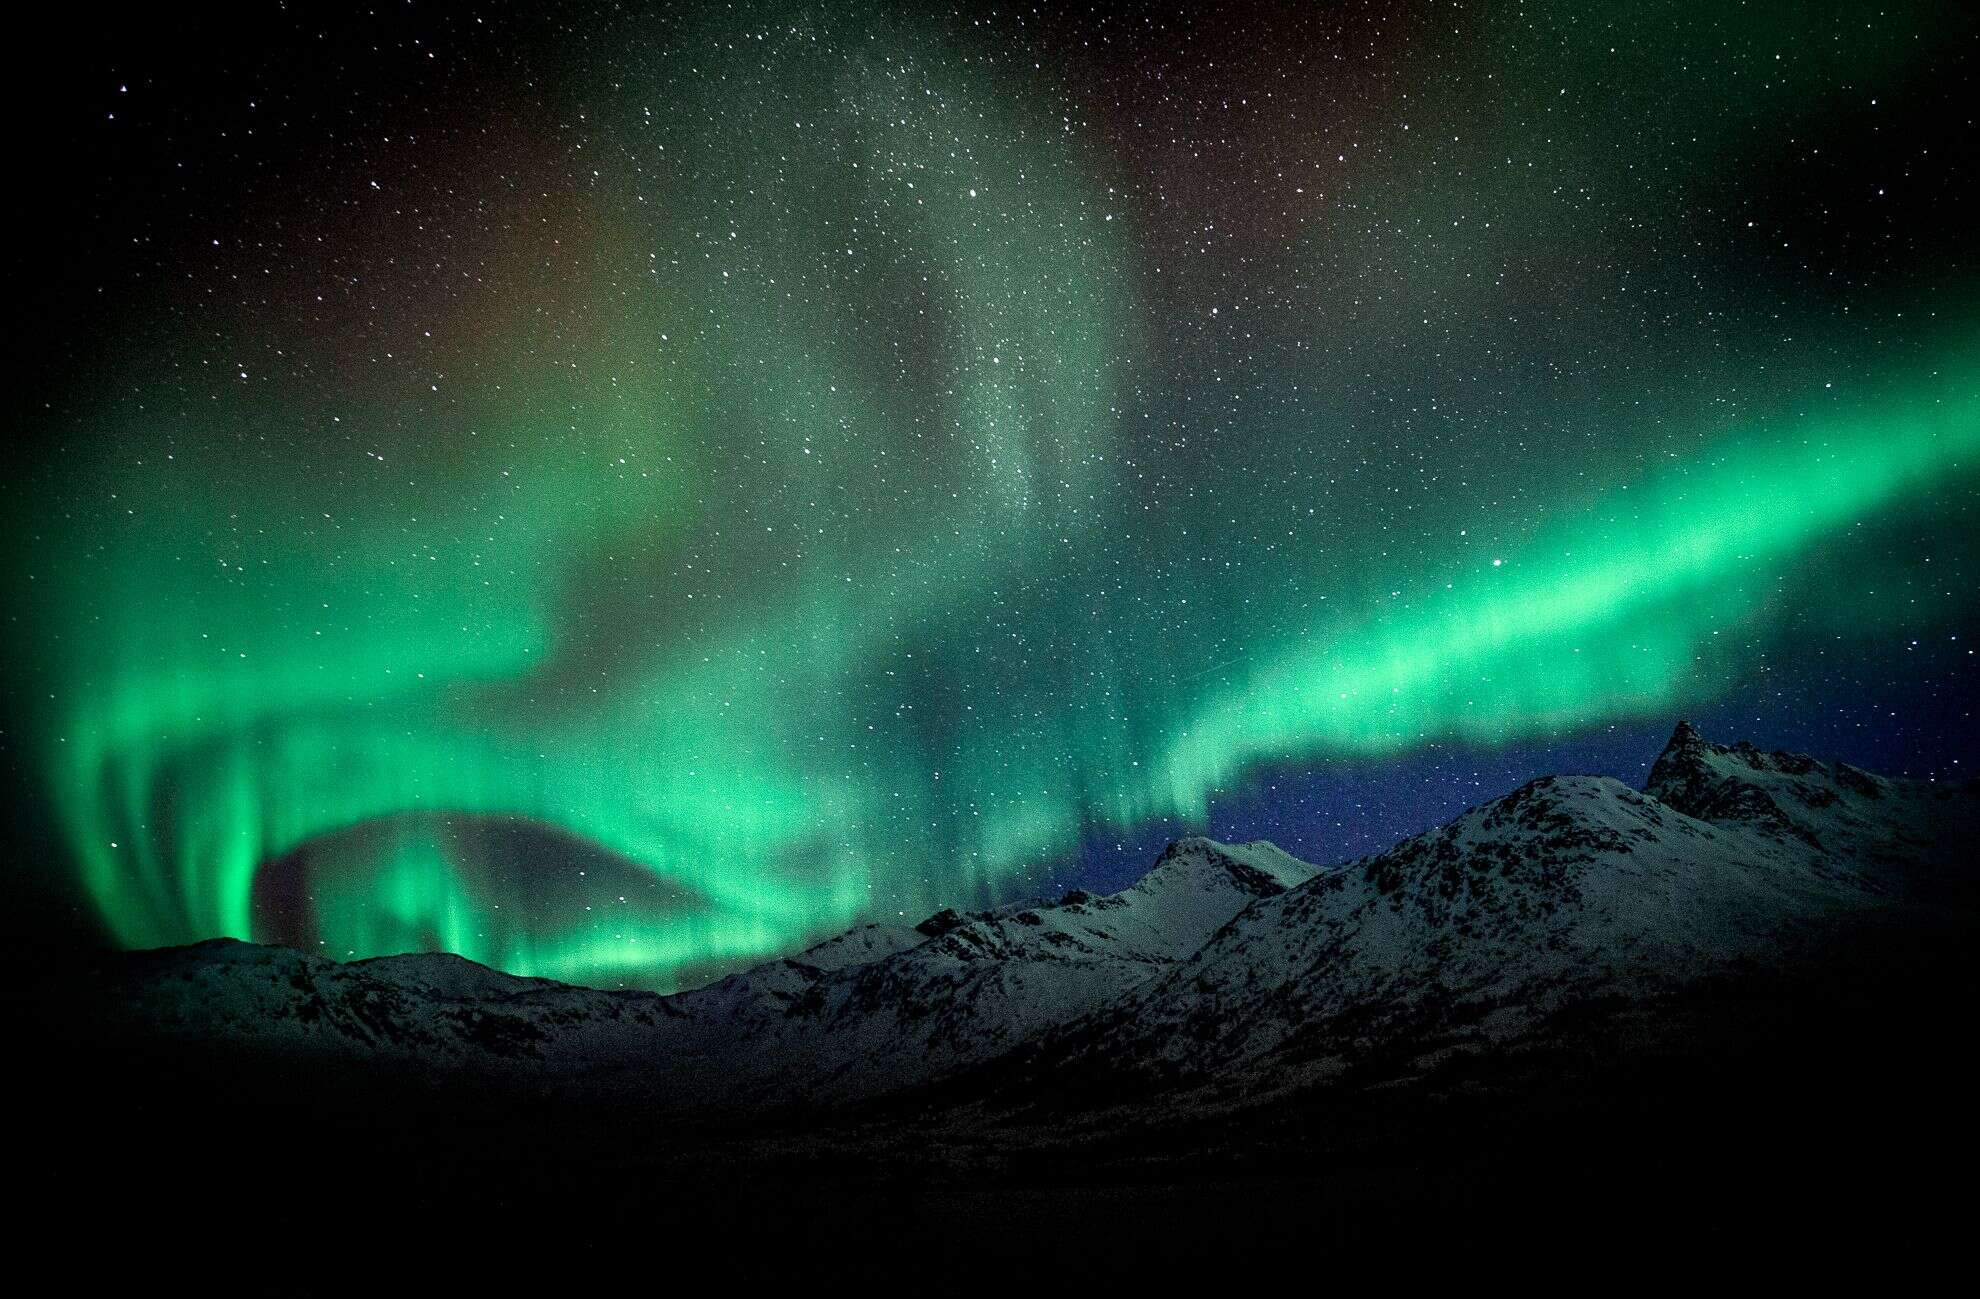
Here, I don’t really mind the grain from the high ISO. I actually find it to work with the composition and the post-editing I did.
Settings: 45mm – ISO 2000 – f4 – 6s exposure – Canon 6D
Tips to photograph the Northern Lights
- Clean your lens | and your captor to avoid dust that may alter your final image
- Zoom out | Do not zoom in to use the lowest aperture as possible and take a wide photo of the Aurora and the landscape.
- Focus to Infinity | Identify the best place to focus to the infinity during the day. Mark the best setting on your lens to find it easily.
- Use a sturdy tripod | It is very important that your camera does not move at all during the shooting. With a necessarily long exposure, the slightest movement would disturb the smooth running of the shooting and make your photographs blurry.
- Do not use a flash | If you want to highlight an object or a person in the foreground of your image, use a headlamp and illuminate your subject very quickly at the beginning of the shooting (then keep the light away from the landscape while your camera continues on with the long exposure).
- Have your camera ready to shoot | prepare some settings ahead and learn/practice prior your trip to understand how your camera handles photography at low light or at night
- Shoot in manual mode | to control the aperture, ISO and shutter speed and avoid automatic focus (that wouldn’t work at night).
- Choose a low aperture and change the shutter speed | according to the Aurora intensity (1-6 s for strong aurora, 15 to 30 s for low activity)
- Do not use the Image Stabilizer of your lens | It’s not necessary since you are using a tripod. It will save some of your batteries already weakened by the cold weather.
- Know the limit of your ISO capability | The sensitivity of the sensor must be consistent with the capacity of the camera and lens. For an entry-level device, do not go higher than an ISO 1000. For a mid-range, you can probably push up to 2000. Finally, for a full-frame, you can go up to an ISO 3200 but you shouldn’t need to get higher. Ideally, choose an ISO as low as possible such as 800 -1000.
- Keep the aperture as wide as possible | Set your aperture to the smallest possible to open the shutter a maximum (f2.8 or lower being the best)
- Balance the 3 parameters | keep in mind the relationship between ISO, aperture and Shutter speed
- Shoot in RAW | for a fun and creative post-production photo editing!
- Control the white balance | between 2400 and 4000 Kelvin
- Use a remote release | to avoid blurry images
- or Download a Camera control App | if you have Wifi or Bluetooth connectivity – it is useful if you get too cold as you can control your camera from the car/van!!
- Keep the spare battery close to your body heat | to keep them warm. Batteries lose power with cold weather
- Stay away from light pollution | A dark sky (with no moon) and away from city lights will give you a better chance to see and photograph the Northern lights
- Stay warm and dry | by wearing high-quality clothes made for snow and below zero/extreme temperatures.
- Don’t build up expectation, but keep a positive attitude | Nature is unpredictable and Northern Lights don’t always show up.
- Don’t forget to watch the Northern Light with your eyes and enjoy the show!

Settings: 24mm – ISO 1200 – f2.8 – 15s exposure – Canon 6D

Settings: 24mm – ISO 2000 – f2.8 – 6s exposure – Canon 6D
After shoot | Prevent condensation
Condensation forms on the glass when there is a drastic change in temperature. For example, getting back to your warm hotel after shooting Northern lights by -10 degrees… This condensation can form on your camera and inside your lens causing in the long term moisture and altering the internal mechanism.
To prevent this fog to appear within your gear, keep your camera inside a bag correctly closed and do not open it inside until fully acclimatised. If you don’t have a camera bag, cover your camera with one of your clothes (not something humid) when you are about to enter the warm room from outside and let it settle until it warms up to the ambient temperature. Depending on the temperature differences, you may have to keep it acclimatising for up to a few hours.
If it is too late, wipe the lens, don’t detach the lens from the camera body and place it in an airtight bag until the condensation has fully disappeared.
Photographing Northern Lights with a phone
If you don’t have a DSLR and don’t want to invest in one to photograph Northern Lights, you can still try to use your phone! The more recent smartphones handle pretty well night photography and also offer a manual functionality that allows you to control the shutter speed (sometimes aperture) and ISO. Even if it will never give the same results as a DSLR, for most travellers it will be enough to capture a memory of the lights and share it with friends and family on social media.
Just like with any DSLR, you will need to find a dark but clear sky and travel to latitudes where you can see northern lights. You will also need a tripod to avoid unwanted movements. Most smartphones will have a Manual mode (or “pro”) integrated into the camera apps or a predefined mode such as “light painting” or “night photo”. If your device doesn’t have one, you can download an app such as ProCam or Camera FV-5 Lite.
With a phone, for a good start, choose an ISO 800 and a shutter speed of 10-20 s. Don’t be scared to then edit your images with Snapseed or Lightroom Mobile.
NOTE | if you decide to join a tour, guides often share their photos with the group. You can check ahead if they are included or sold separately.
Edit your Northern light pictures with Lightroom
Editing an image doesn’t have to be too complicated. Adjusting some settings such as the brightness, contrast, white balance or vibrance can already make a huge difference. Although, one of the major differences between a good photo and a random Northern lights image is often down to the composition. Editing won’t make miracles! Shooting the landscape as well as the sky is important to get a sense of the scale of the Northern light environment.
When you edit your images, try to open the blacks (shadow) and create details in the foreground with gradual filters. I also like to brighten the stars in the sky (brightness) and play a little bit with the individual colours… Even if Northern Lights are mostly green, they sometimes display some red and purple on the outskirt – With Lightroom you can enhance these colours that are slightly less intense!
BEFORE

AFTER

Best tours to see the Northern Lights in Europe
There are a few places in Europe that are easy to reach for a quick trip from any large city. Count 4 to 5 days to really make it worth and do not hesitate to join tours to get out of the towns and find the best spots to see the Northern Lights. Ideally, you can head to Tromso in the far north of Norway as I did, or to Rovaniemi in Sweden or even Iceland. I gathered a few tours in each place to give you an idea of the cost and what’s included.
Tromso, Norway
- The tour I did – Best recommended online and onsite: 7-hour tour from Tromso focused on the Northern light with a bonfire, hot drinks and snack. Transport and guide (also photographer) included.
- Depart early from Tromso to visit a Sami camp and spend time with huskies. This Northern Lights and Husky Experience is a good deal to also learn about the local culture and see the aurora. Transport and dinner included.
- Take a Reindeer sledding tour at night with the chance to see Northern lights. Included a traditional Sami dinner. This tour isn’t focused on the NL but is a really good way to experience them differently!
- Join a photography tour with an experienced guide who will teach you how to take pictures of the NL and will help you set up your camera.
- Hop on an electric catamaran or a sailboat for an exceptional dining experience and see the Northern lights from the Fjord!
- Sleep in a glass-roofed Lavvo, ride a snowmobile and enjoy watching the Aurora from your bed!!
Rovaniemi, Sweden
- Chose between a classic but short tour (2h) to watch the Northern Lights – or a Photography Tour let by a professional photograph
- You can also get to see the Northern Lights while enjoying a traditional Sweedish BBQ!!
- For those who want to also live a different experience, you can choose a Northern lights tour that also includes a fun activity such as a Snowmobile Sleigh with Picnic – A Forest Sauna trip – A Quad Bike Tour or even get on a swimsuit and float in a frozen lake… for a crazy Aurora Borealis Floating Experience!!
Reykjavik, Iceland
- Best rated 4-hour trip from Reykjavik, the Northern Lights Bus Tour focuses on Northern lights and includes the entrance fee to the Aurora Museum
- This 10-hour tour will take you to the Golden Circle in the morning and on the hunt for Northern Lights in the evening! Best way to save money and combine two of the best activities in Iceland during winter.
- A fun excursion to the Secret Lagoon and get to bask in hot springs while watching the Northern Lights. This 6-hour trip sounds just perfect for a romantic gateway 🙂
What to pack to not freeze during the shooting
- Warm clothes | such as skying gear, merino undergarments, warm hat and balaclava! It will be necessary as you will mostly spend time standing still to watch the northern lights, likely by minus 10 or 20 Celsius degrees,
- Footwear | After ski boots are best as they will keep your feet warm and dry.
- Hot drink and snack | Your body will work hard to remain warm so give it some extra boost with snacks and hot drinks
- Thick Gloves and inner gloves | Inner gloves are important to have for better manipulation of the camera settings which is quite impossible with thick gloves. Have an extra warm pair though, to keep warm when you don’t touch the camera.
- Headlamp | Useful to change the settings if your camera doesn’t have a built-in light but also to take pictures of yourself and the landscape in the foreground
- If you can, bring a chair, blanket, hot water bottle, etc.
- Lip balm, hand and face moisturisers | to protect your body from the extreme cold and dryness.


ARE YOU ON PINTEREST?
What about saving this post to your Pinterest board?
Click on the photo to save this blog post for later. We are also on the platform and we love pinning great travel tips. Follow Tales From The Lens’ boards to see our latest pins.
Don’t be shy, come say hi!
Please note │ This blog post may also include affiliate links to hostels or products we recommend, which means if you buy something following a link on this page, we’ll get a small commission. This will be of no extra cost to you but will help us continue running this blog. Thank you for your support.

About the Author
Jen is the Funder, Author & Photographer behind Talesfromthelens.comJen has lived for the past 15 years across Oceania and Ireland while also travelling in Latin America, North America, and Europe. She has visited more than 65 countries and set foot on every continent in the world! She is a coffee nerd, passionate about photography, wildlife, and outdoor activities.
For more info, check out the About page.
Jenny, this was one of the best articles we read about photographing the northern lights. I have to say it is not easy to master your camera especially in dark conditions, not to mention when you have to photograph a green light on the dark sky that is constantly moving and changing. I love that you put a lot of effort into writing this article, it is so well documented and it helped us improve our shooting techniques.
Amazing tips – I love how detailed this guide is! Thanks for sharing 🙂
This is exactly what I was looking for. Leaving on Friday for Iceland and I hope to see the Northern lights and take good pictures. Thanks for the tour recommendation, it helped me choose a couple! Can’t waiiiiit!!
Love all the info! We’ve been getting a bit more into night photography, trying not to miss any of the great stargazing opportunities that come our way. Our most recent adventure was trying to capture the comet Neowise, and I think we did really well! Loved your editing tips… I’ve been trying to figure out what to do with a shot of the Milky Way that also has light pollution. I realize that’s not Northern Lights, but you’ve got my gears turning! Can’t wait to see the aurora for myself one day!